In the admin sidebar, tools tab allows you to perform some non-routine management tasks. In the tools, drop-down menu first option is "Available Tools.
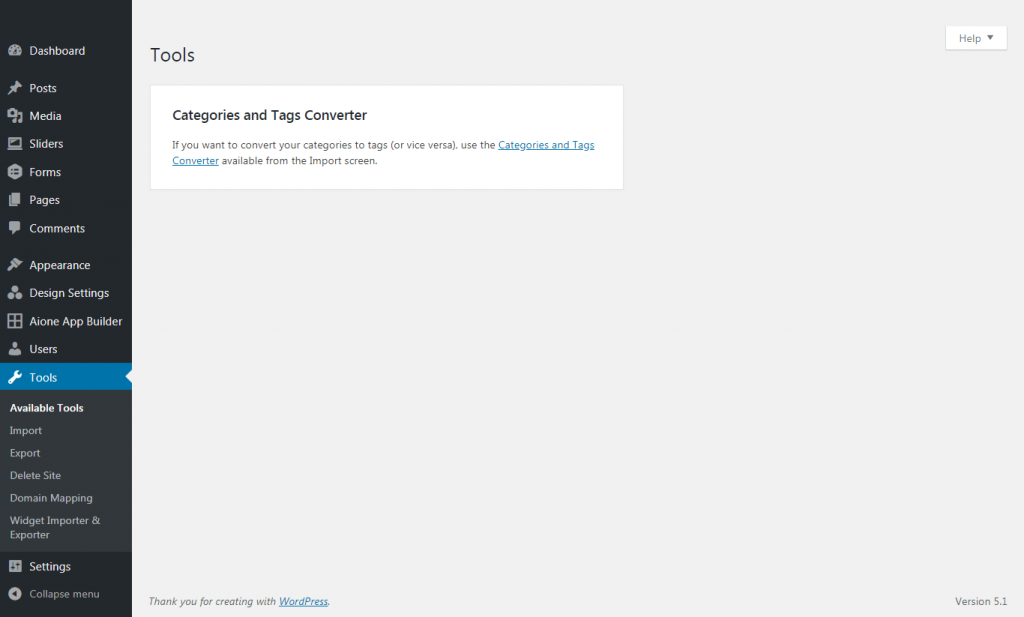
This screen helps you in converting the categories to tags or vice-versa. The link on this screen takes you to the Import screen, where you can install
The need of conversion occurs when you realize that other will work better for your post.
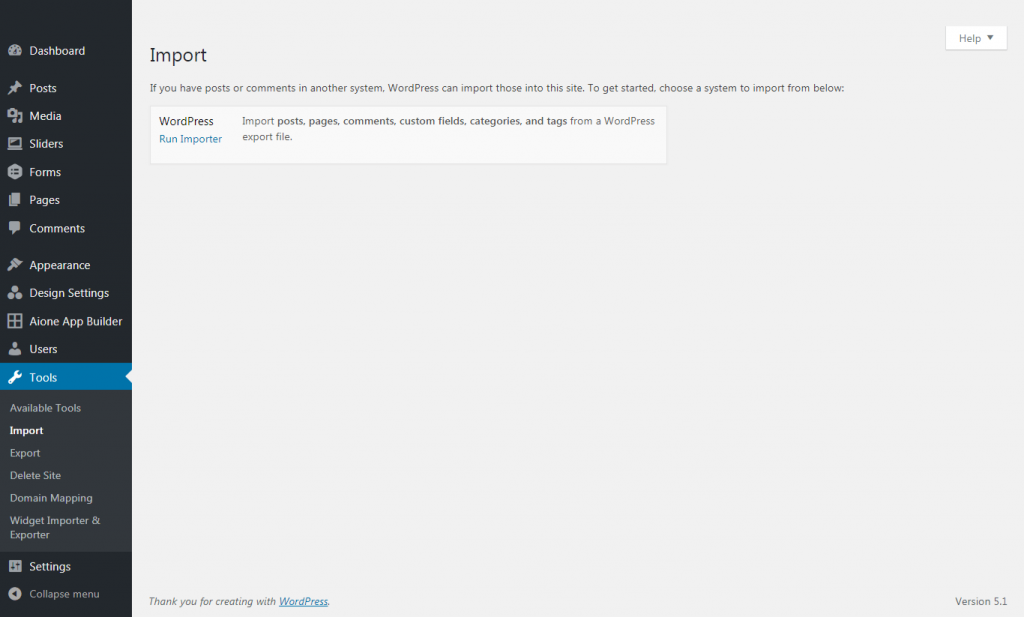
Bringing data such as posts, pages, comments, custom fields, categories, and tags into another site is both necessary and useful.
To get started you just need to select the platform where you want to import. If the system you want to is not listed, search the plugin directory to see if an importer is available.
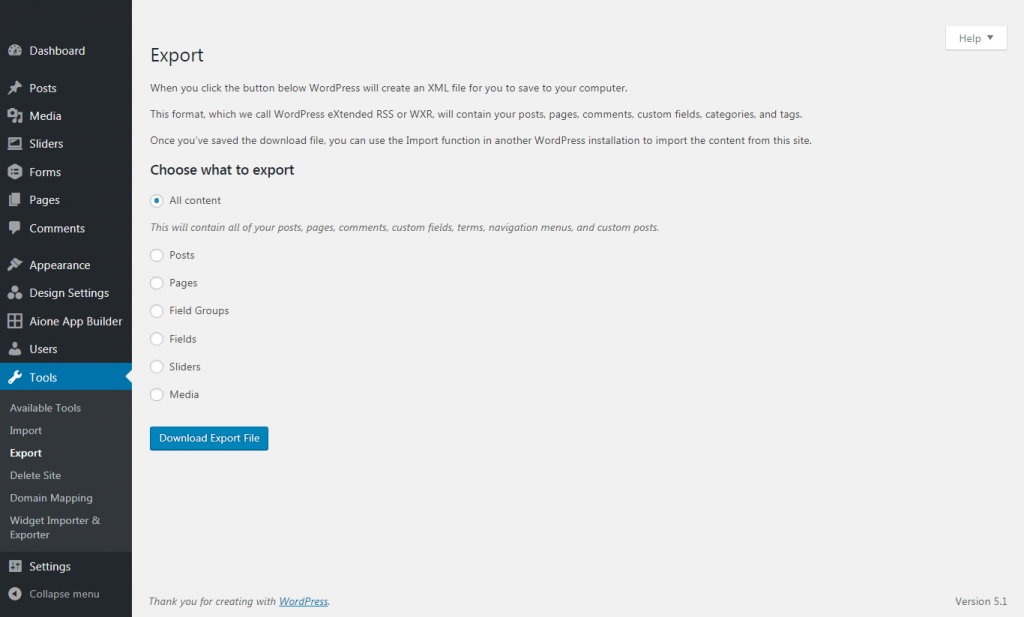
Export helps in moving data to a new site or if you want to keep the backup of your site data.
When you click the button below WordPress will create an XML file for you to save to your computer.
This format, which we call WordPress eXtended RSS or WXR, will contain your posts, pages, comments, custom fields, categories, and tags.
Once you’ve saved the download file, you can use the Import function in another WordPress installation to import the content from this site.
Filters and Other Options
- All content: Export all of your posts, pages, comments, custom fields, terms, navigation menus, and custom posts.
- Posts:
C heck this radio button to expose additional filtering when exporting posts.
- Categories: Select only one category with this pulldown or leave at All Categories.
- Authors: Select a specific author from the pulldown or leave at All Authors.
- Date range: Select both the starting and ending post date to include in the export.
- Status: Select the post status (e.g. Published) to export or leave at All Stati.
- Pages: Check this radio button to expose additional filtering when exporting pages.
- Authors: Select a specific author from the pulldown or leave at All Authors.
- Date range: Select both the starting and ending page date to include in the export.
- Status:Select the page status (e.g. Published) to export or leave at All Stati.
- Field Groups: Click this radio button to export the field groups.
- Fields: Clicking this radio button will enable you to export the fields of your site.
- Sliders: Click this radio button to export the slider settings for the current site.
- Media: Click this radio button to export the media, additional filtering options will appear to choose the start and end date for the selected media.
- Download Export File: Click this button and the file, with any filters selected, will be created and you will be asked to save that file to your local computer.
If you do not want to use your Darlic®| Create Free Website site
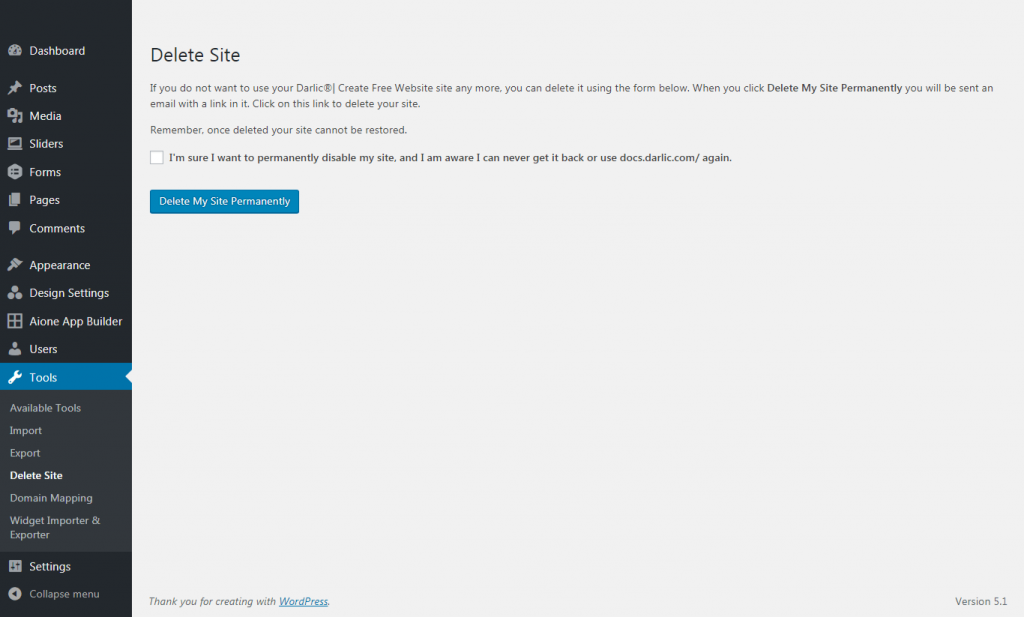
Remember, once deleted your site cannot be restored.
Click the checkbox next to the text below:
I'm sure I want to permanently disable my site, and I am aware I can never get it back or use docs.darlic.com/ again.
Then click the blue button with text "Delete My Site Permanently".
Tools > Domain Mapping
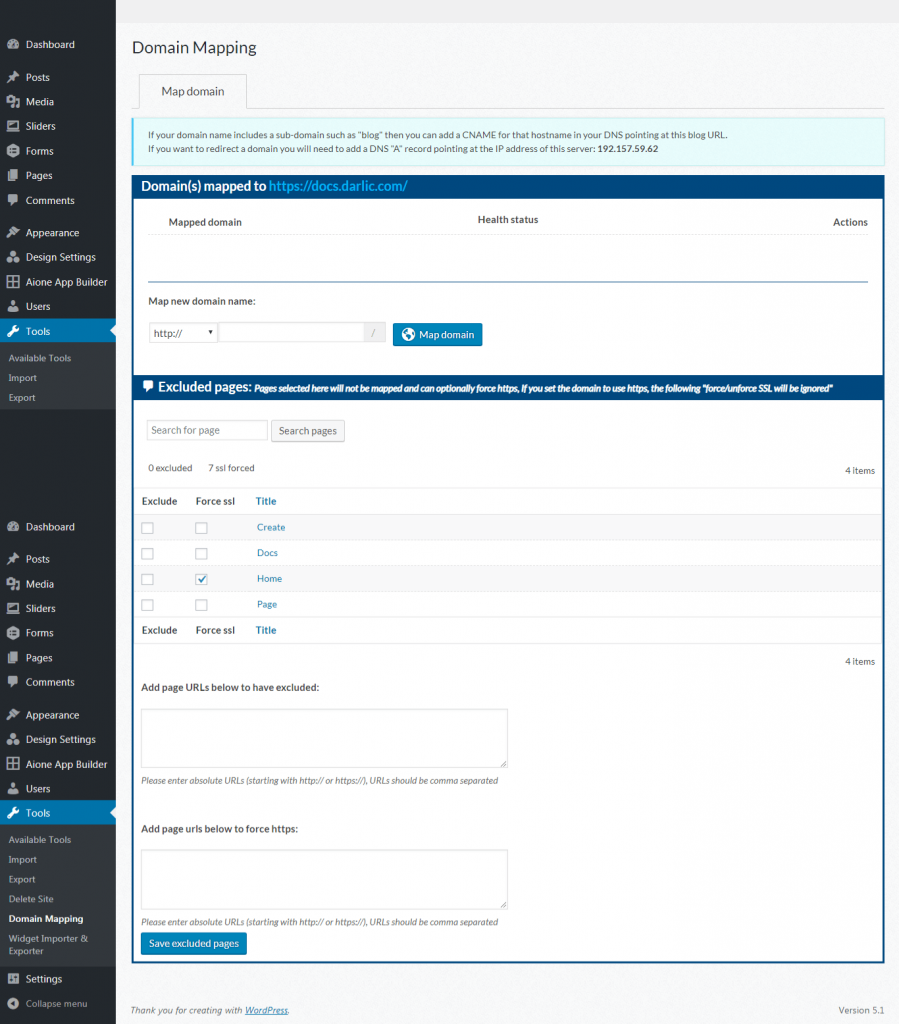
If your domain name includes a sub-domain such as "blog" then you can add a CNAME for that hostname in your DNS pointing at this blog URL.
If you want to redirect a domain you will need to add a DNS "A" record pointing at the IP address of this server: 192.157.59.62
Configure Domain Mapping
Next, go to Settings > Domain Mapping.
In the “Mapping options” tab, enter your dedicated IP address in the “Server IP Address” section.
Next, go to Settings > Domain Mapping.
In the “Mapping options” tab, enter your dedicated IP address in the “Server IP Address” section.
Go to the dashboard for the new sub-site you created earlier.
Next, go to Tools > Domain Mapping and enter the domain you want to map.
Click “Map Domain”.
Excluded pages: Pages selected here will not be mapped and can optionally force https, If you set the domain to use https, the following "force/unforce SSL will be ignored".
Add page URLs to have excluded: In the textbox area enter absolute URLs (starting with
Add page URLs below to force https: In the textbox area enter absolute URLs (starting with
"Save Excluded Pages" button confirms that the settings have been saved.
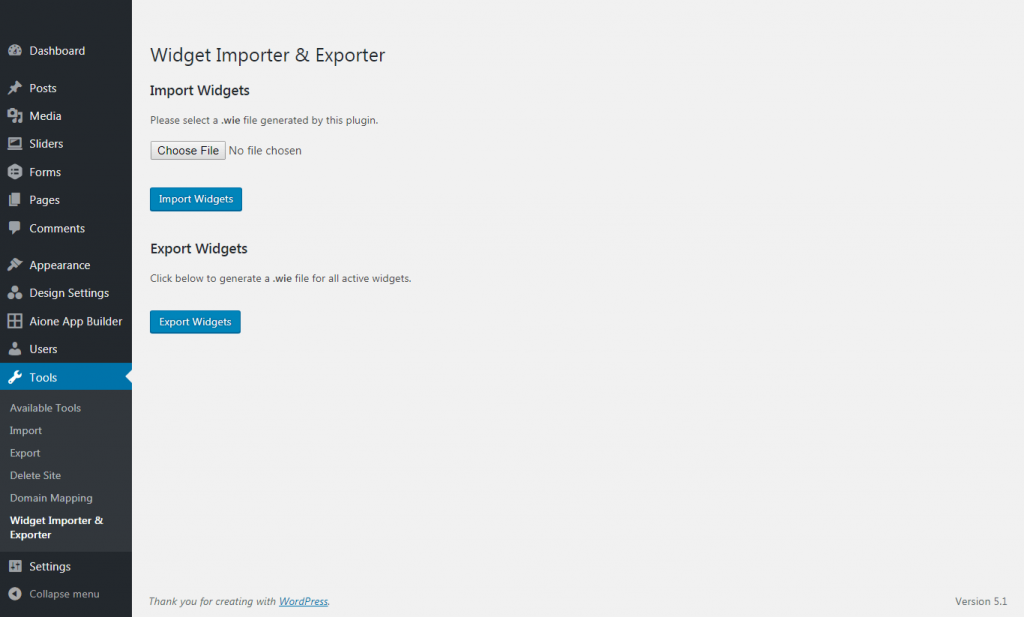
The need of import and export takes place in following cases:
- If there is need to transfer widgets from one site to another.
- It is useful for theme developers to show the sample widgets.
- To take backup of widgets.
Importing
It is done by uploading an export file created by the plugin. Three things may happen:
- Widgets imported as Inactive: These are one which are not existing in current theme.
- Widgets not duplicated: If widgets already exist in the same widget are.
- Widgets not imported: If widgets are not supported by the site.
Exporter
It can create an export file of currently active widgets. This file can be later used to import in another site or to restore in the same site later.